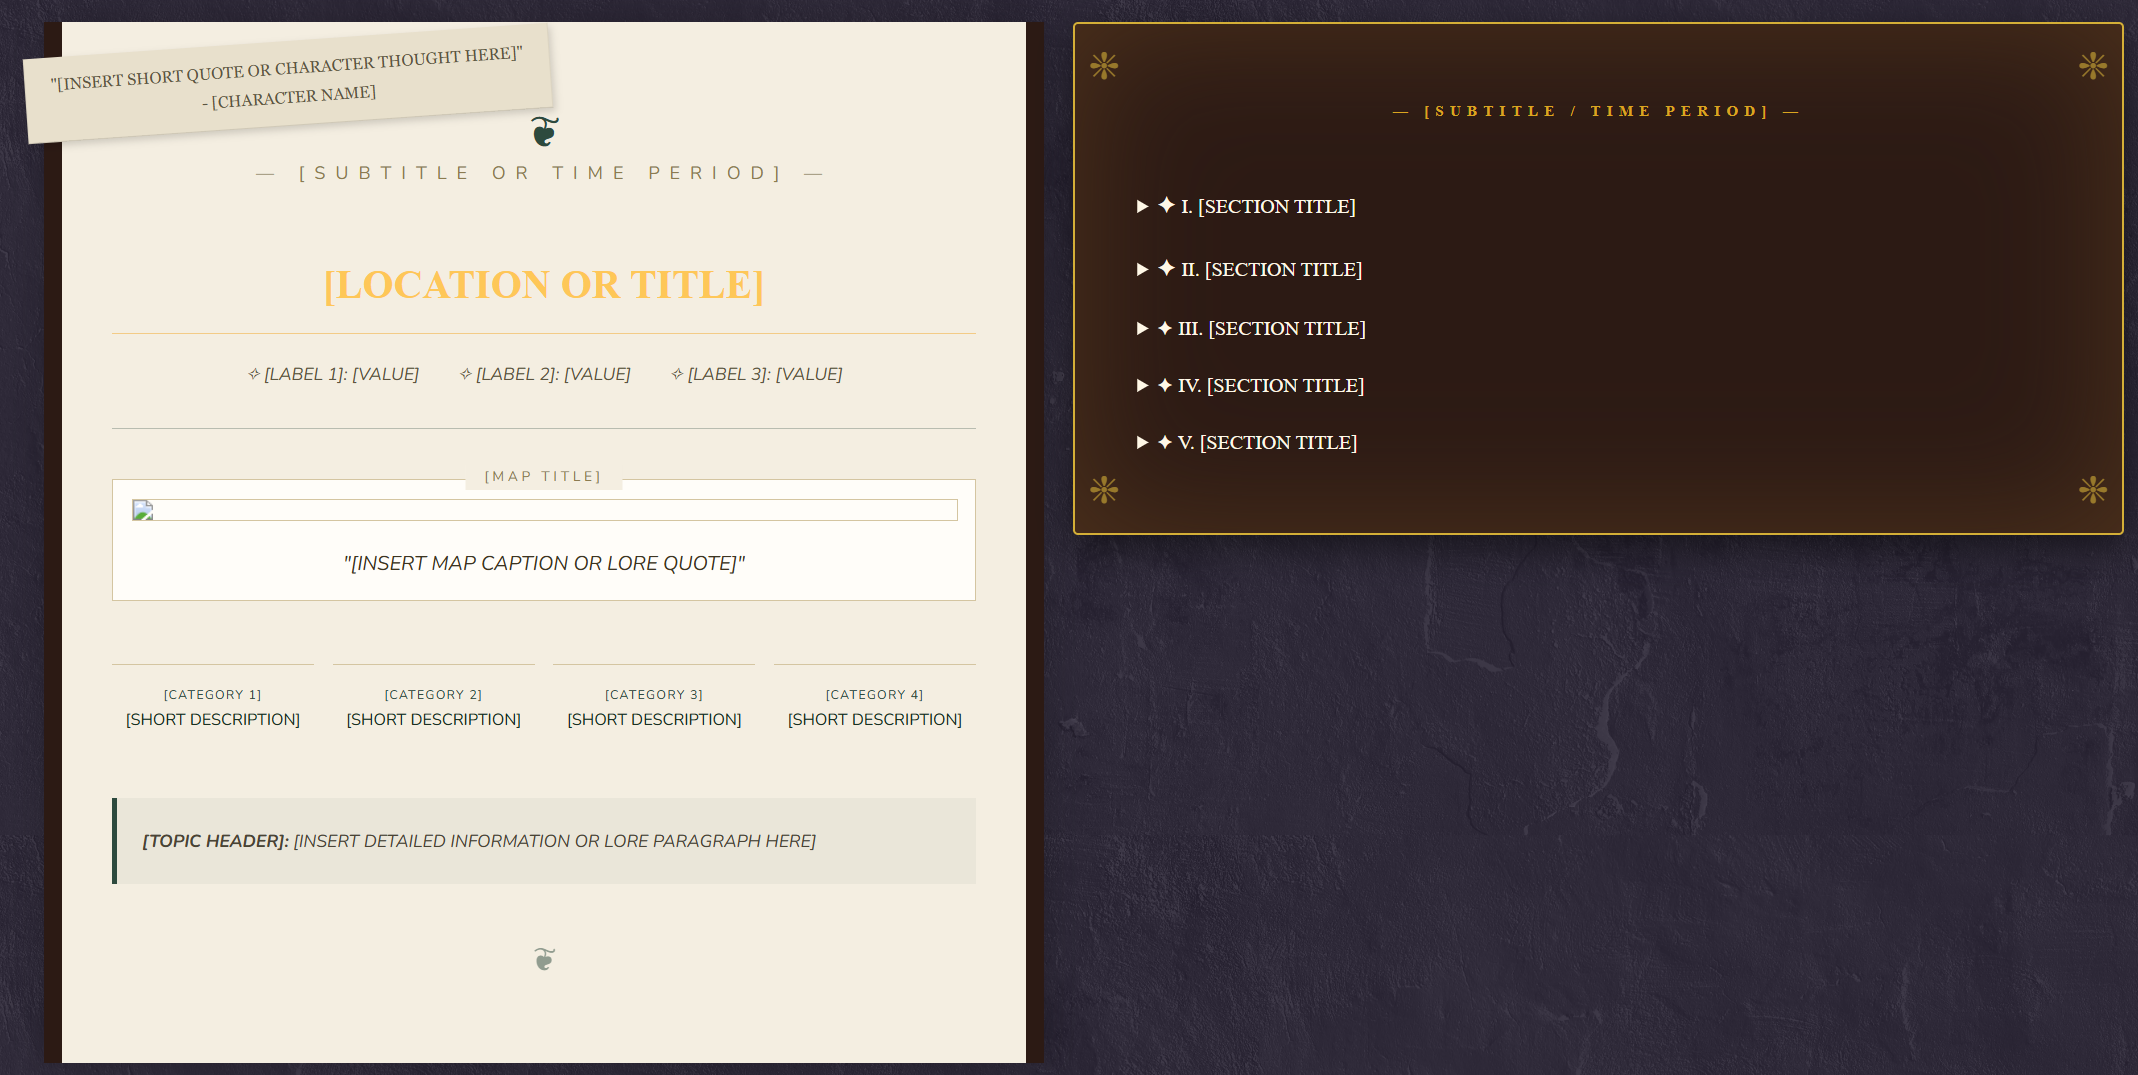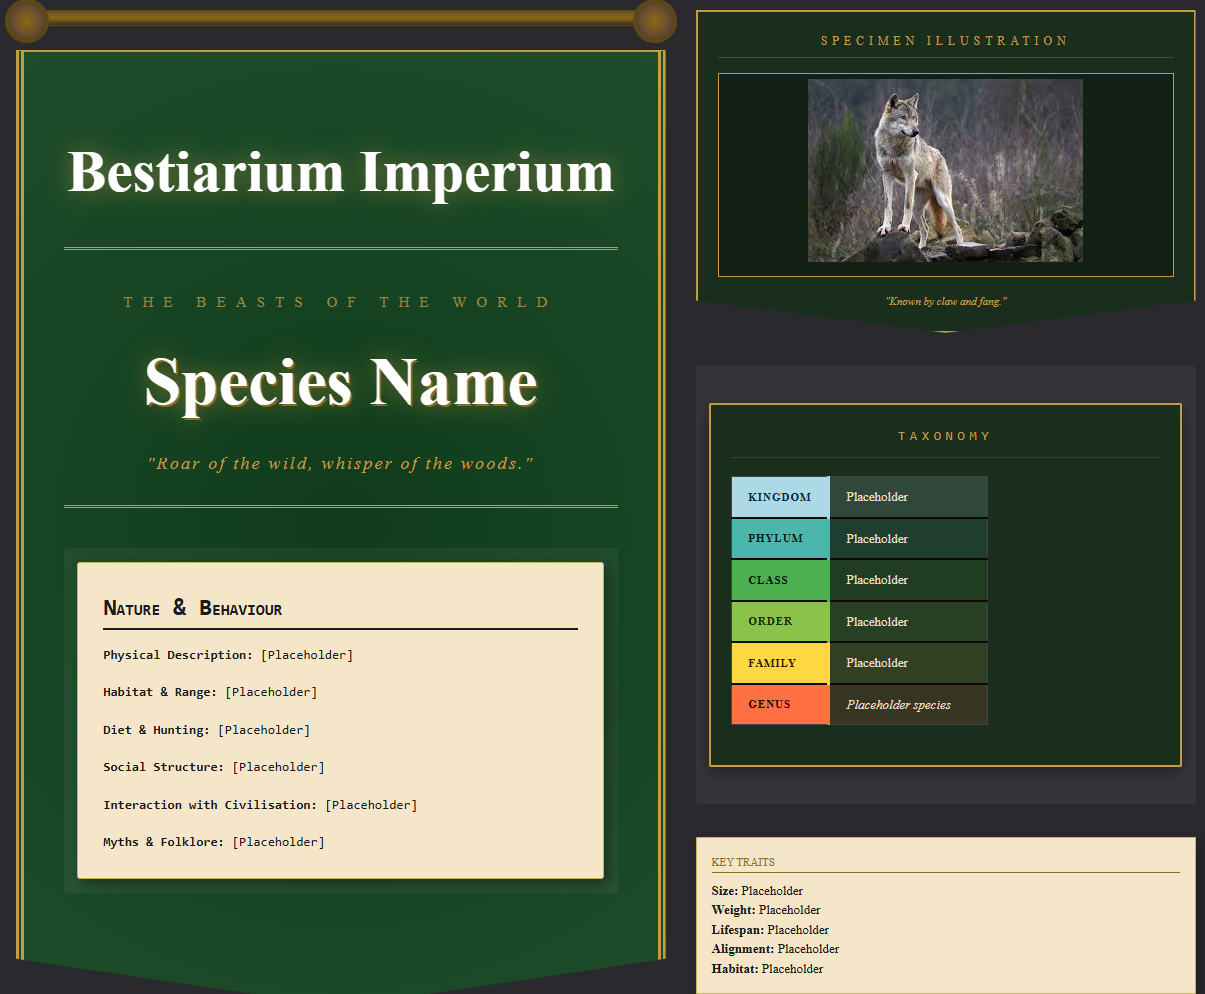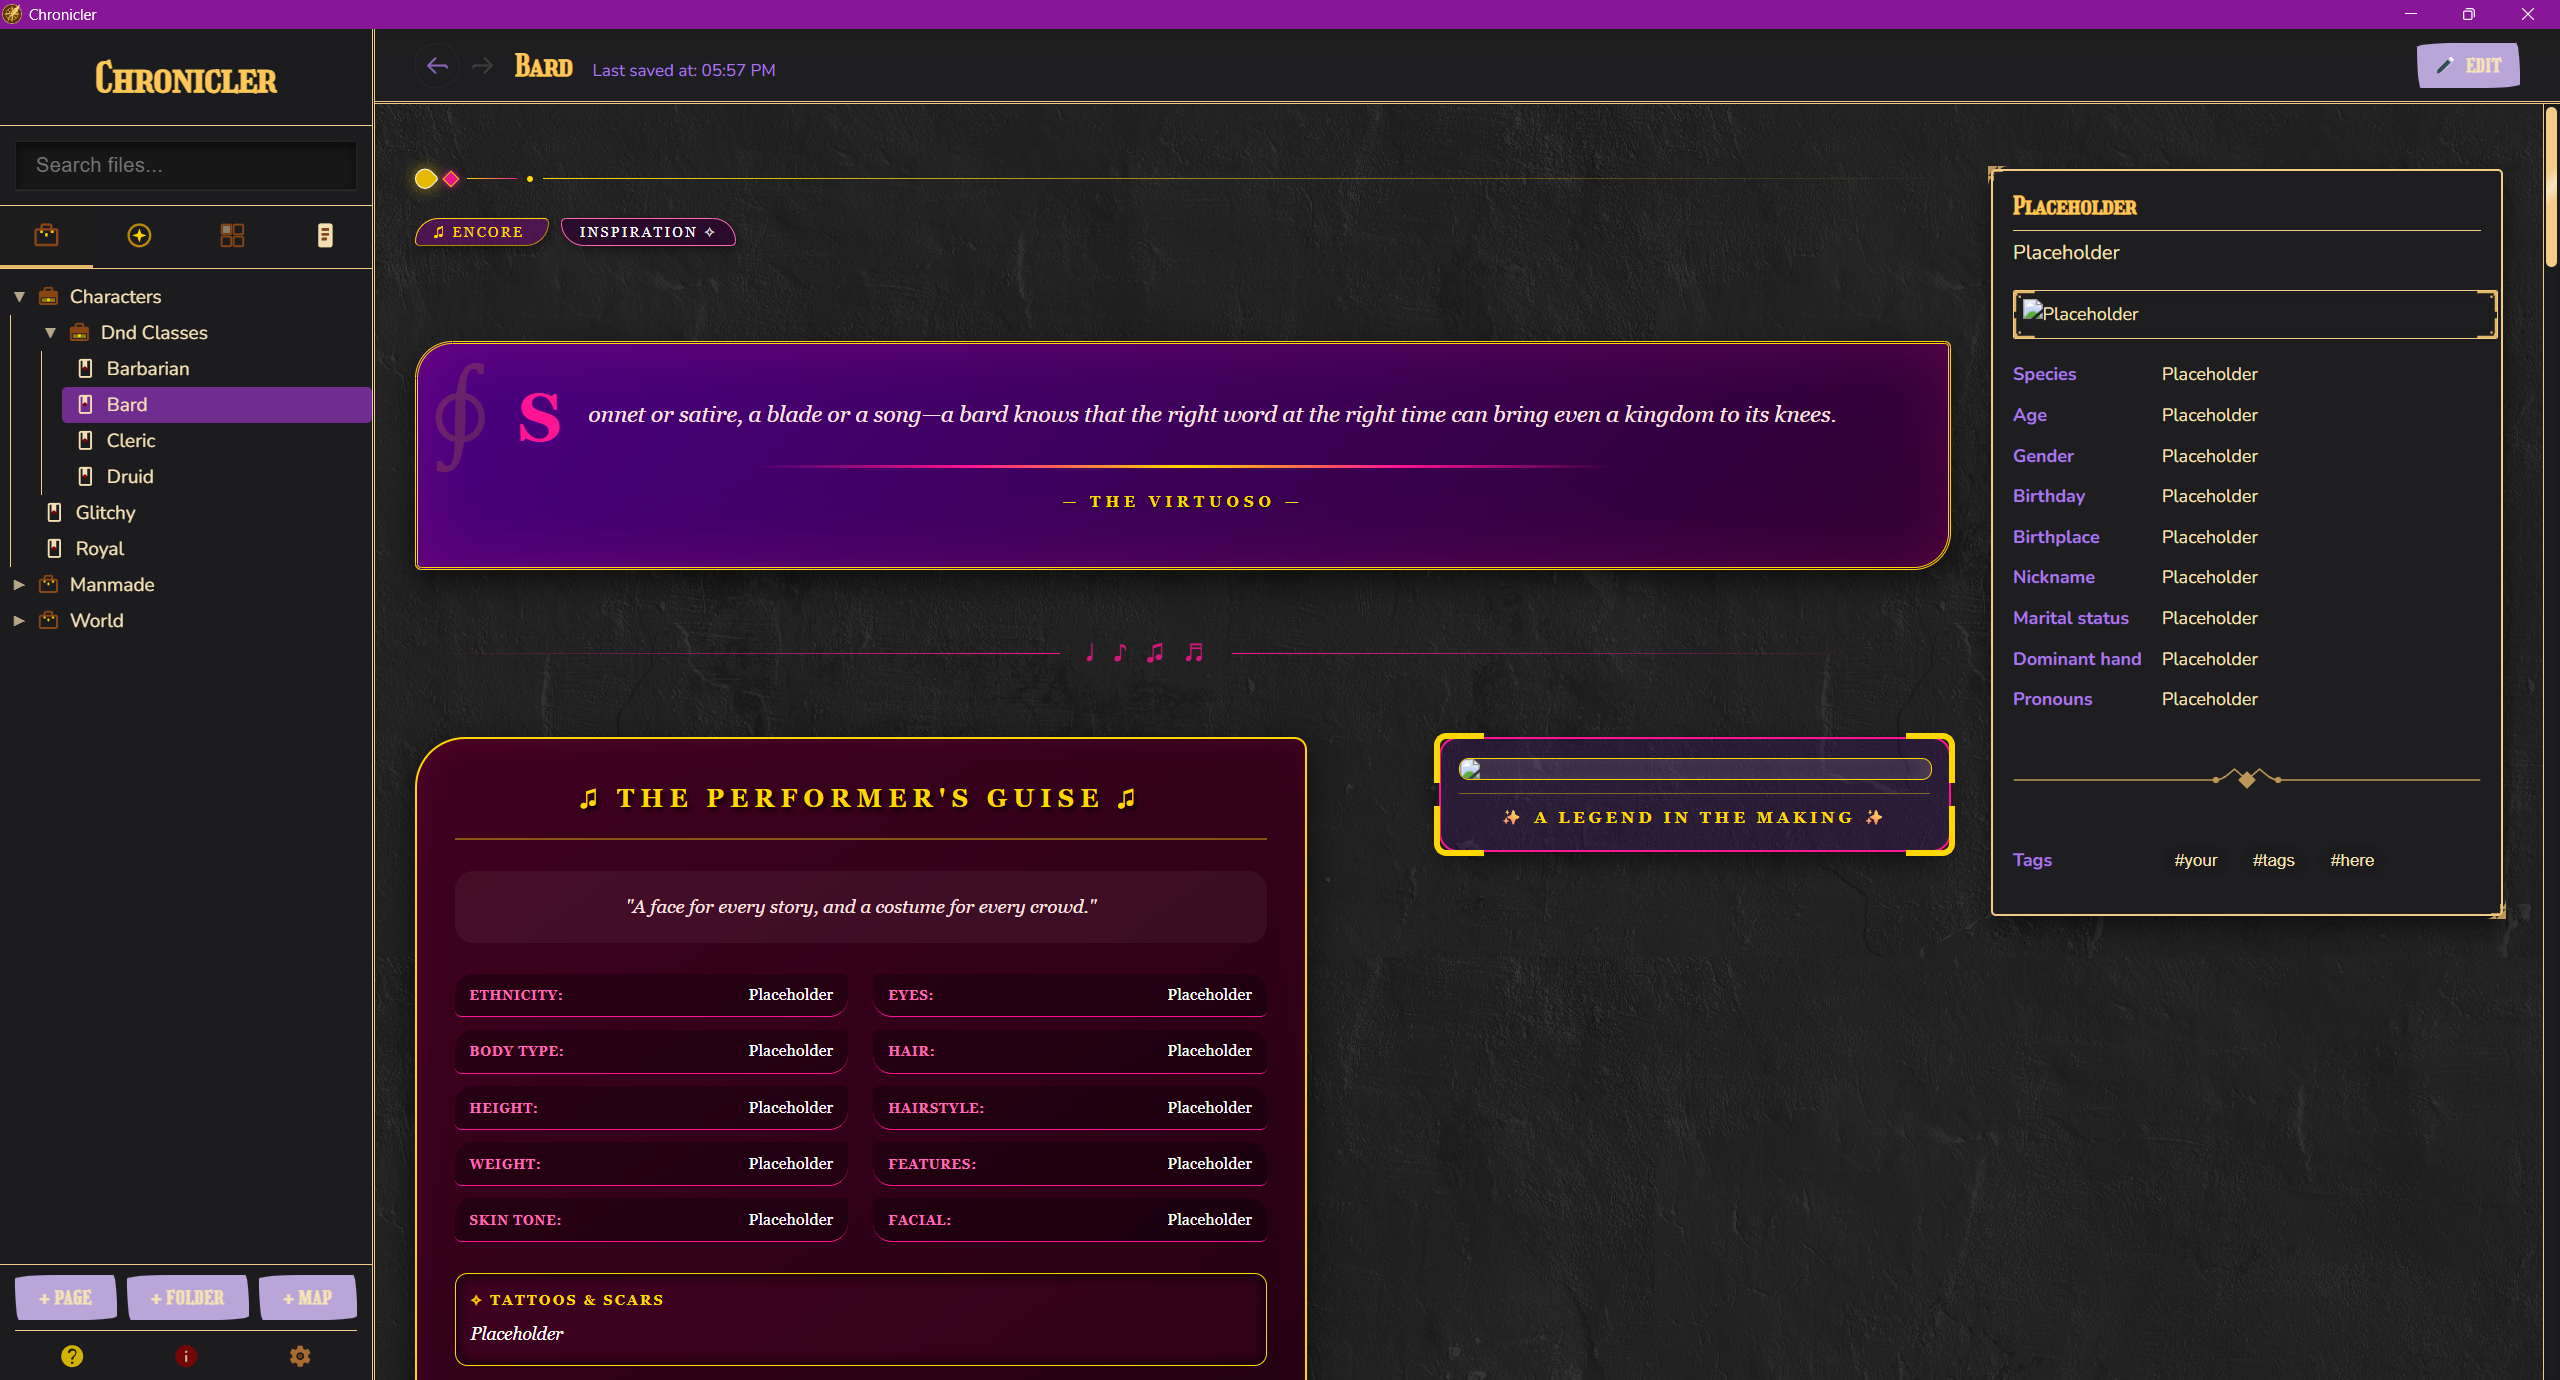
Listed below are two different methods to add collapsible elements to your page:
Method 1: Details
Starting with one of the more complicated methods to create dropdowns, you can use a combination of the "Details" and "Summary" HTML tags to create dropdowns. It looks something like this:
<details name="Collapse" open>
    <summary>
      Title
    </summary>
        Content
  </details>
The entire block of text should be wrapped inside the "<details>" tag. You could just write text between that and the closing "</details>" tag, but then the "title" of the dropdown would default to being just the word "Details". To set your own custom title for the dropdown block, add text inside the "<summary>" tag. That text will be the title of your dropdown. You can then use <div> and/or <span> tags around your title or body text to significantly customize the formatting, but that is outside the scope of this brief overview.
PROS
- highly customizable and versatile
- visible animated dropdown arrow
CONS
- doesn't work with section headers
- more html, thus more complex
- extremely bare "right out of the box"
- dropdown arrow cannot (currently) be hidden or modified
Method 2: Page Inserts
The second, and simplest, method is to use the page insert function.
{{insert: page name}}
By default all page inserts are dropdowns, with only minimal customization possible. You can add tags such as "centered" to center the title of the dropdown block, or "hidden" to make it so that the dropdown starts collapsed, rather than open. Examples:
{{insert: page name | centered}}
{{insert: page name | hidden}}
{{insert: page name | centered | hidden}}
{{insert: page name | title="different name"}}
PROS
- simple to add
- clean, easy to read code
- pre-styled to look nice
CONS
- no customization beyond limited number of tags
- currently can only insert an entire page, not sections of a page
- requires additional pages with the information you want in the dropdown